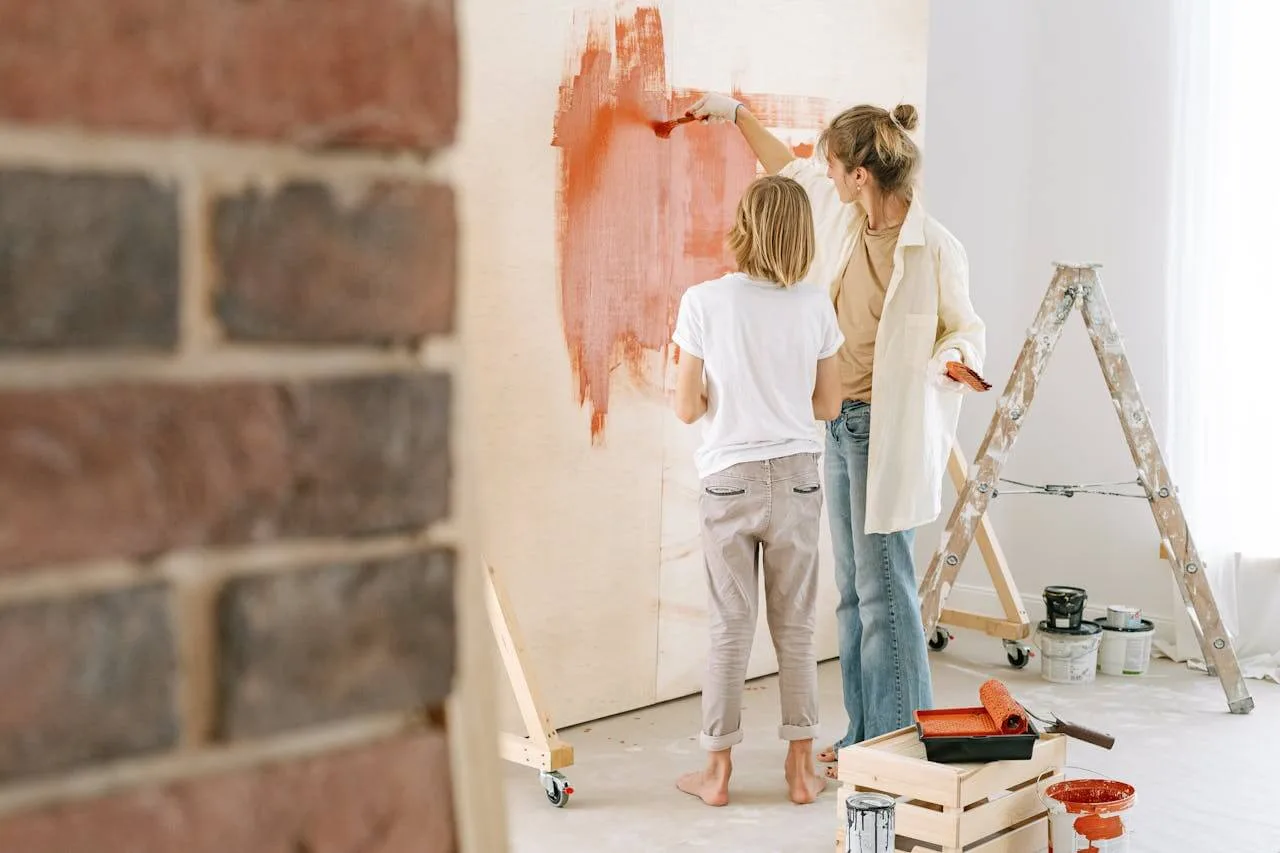
Painting your home’s interior is one of the most affordable and impactful ways to refresh your space. A well-done paint job can instantly make a room feel brighter, cleaner, and more welcoming. But while painting may seem simple on the surface, there are many common pitfalls that can leave homeowners disappointed with the results. In this guide, we’ll highlight 10 of the most frequent interior painting mistakes and how you can avoid them to ensure a flawless finish every time.
1. Not Prepping the Walls
One of the biggest mistakes is skipping the preparation phase. Painting over dust, grime, or uneven surfaces can cause poor adhesion and an uneven finish.
Fix it: Always start by cleaning your walls. Fill in holes or cracks with spackle, sand the surface smooth, and wipe down with a clean cloth before painting.
2. Choosing the Wrong Paint Finish
Using a glossy paint in the wrong room or a flat finish in a high-traffic area can lead to premature wear or poor aesthetics.
Fix it: Use eggshell or satin finishes in living rooms and bedrooms, semi-gloss in kitchens and bathrooms for easy cleaning, and flat finishes for ceilings.
3. Skipping Primer
Primer helps paint adhere better and creates a uniform base. Skipping it can result in blotchy coverage and more coats than necessary.
Fix it: Always use a primer on new drywall, stained surfaces, or when making drastic color changes.
4. Using Low-Quality Paint or Tools
Bargain paint may seem cost-effective but often requires more coats and delivers poor results.
Fix it: Invest in high-quality paints and brushes or rollers. It pays off with smoother coverage and fewer headaches.
5. Not Paint Colors First
Paint can look very different on the wall than it does in the store or online.
Fix it: Always test a few paint swatches on your wall and observe how they look in different lighting conditions throughout the day.
6. Taping Incorrectly or Not at All
Skipping painter’s tape or applying it poorly can lead to messy edges and drips.
Fix it: Use high-quality painter’s tape and press it down firmly. Remove it at an angle while the paint is still slightly wet to avoid peeling.
7. Overloading the Brush or Roller
Too much paint can lead to drips, streaks, or texture inconsistencies.
Fix it: Dip only a third of your brush into paint and roll excess off the roller before applying. Use steady, even strokes for a uniform coat.
8. Painting in the Wrong Conditions
Too much humidity or heat can affect paint drying times and finish.
Fix it: Ideal painting conditions are mild temperatures with low humidity. Always read the paint label for specific recommendations.
9. Rushing the Job
Applying a second coat before the first one dries can result in uneven color and peeling.
Fix it: Follow the manufacturer’s recommended drying times between coats. Be patient and let the paint cure properly for best results.
10. Neglecting Clean-Up
Leaving paintbrushes, trays, or rollers unwashed leads to hardened tools and waste.
Fix it: Clean all tools immediately after use. Seal leftover paint properly and store in a cool, dry place for touch-ups later.
Final Thoughts
Painting your interior can be a satisfying DIY project — but only if it’s done right. Avoiding these common mistakes can save you time, money, and stress while delivering the polished look you’re aiming for.
Need help with your interior painting project in Austin or surrounding areas?
We’re a local, family-owned painting company that takes pride in quality work and personalized service. Reach out to schedule your free estimate — we’d love to help bring your vision to life.

